hvac troubleshooting guide
HVAC Troubleshooting Guide: A Comprehensive Plan
Navigating comfort issues can be frustrating; this guide empowers you to diagnose and resolve HVAC problems, starting with fundamental measurements like static pressure.
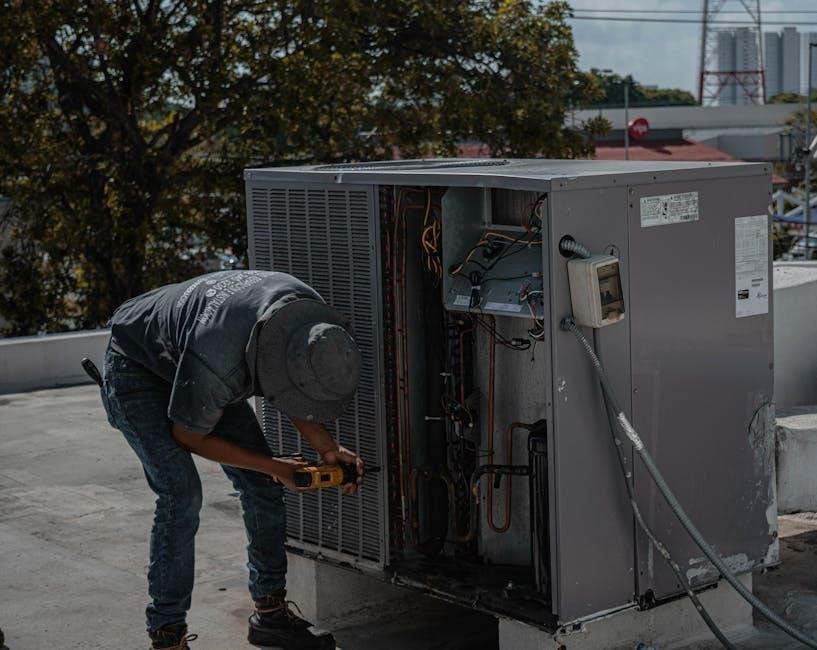
HVAC troubleshooting is a systematic approach to diagnosing and resolving issues within heating, ventilation, and air conditioning systems. It’s a crucial skill for technicians, homeowners, and anyone responsible for maintaining comfortable indoor environments. Effective troubleshooting minimizes downtime, reduces energy waste, and extends the lifespan of expensive equipment.
Often, discomfort stems from seemingly minor problems – a dirty filter, a loose connection, or incorrect thermostat settings. However, more complex issues, like refrigerant leaks or compressor failures, require specialized knowledge and tools. This guide provides a comprehensive framework, starting with basic checks and progressing to advanced diagnostic techniques. Remember, a methodical approach, combined with a solid understanding of HVAC principles, is key to successful troubleshooting. Prioritizing safety is paramount throughout the process.
II. Safety Precautions for HVAC Technicians
HVAC work involves inherent risks; prioritizing safety is non-negotiable. Always disconnect power to the unit before commencing any electrical work – lockout/tagout procedures are essential. Refrigerants can cause frostbite and asphyxiation; handle with appropriate PPE (gloves, eye protection). Be mindful of sharp edges on sheet metal and potential pinch points within the equipment.
When working with gas furnaces, verify proper ventilation to prevent carbon monoxide poisoning. Use a combustible gas indicator to confirm safe levels. Elevated work requires fall protection. Proper lifting techniques are crucial to avoid back injuries. Always follow manufacturer’s guidelines and local safety regulations. A safe technician is a productive technician.
III. Essential Tools for HVAC Troubleshooting
Effective HVAC diagnosis demands the right tools. A multimeter is crucial for electrical testing – voltage, continuity, and resistance checks are commonplace. A manifold gauge set measures refrigerant pressures, vital for assessing system performance. A reliable refrigerant leak detector quickly identifies breaches in the refrigerant lines, preventing environmental damage and system inefficiency.
Beyond these, you’ll need screwdrivers, wrenches, pliers, and a vacuum pump. A combustion analyzer is essential for gas furnace diagnostics. Digital thermometers and clamp meters add precision. Don’t forget a good work light and personal protective equipment. Investing in quality tools improves accuracy and safety.
A. Multimeter Usage
A multimeter is your primary electrical diagnostic tool. Begin by selecting the correct function – voltage (AC/DC), continuity, or resistance. Always observe safety precautions; de-energize circuits whenever possible. To check voltage, connect the leads across the points you’re testing, ensuring proper polarity. Continuity testing verifies unbroken circuits – a beep indicates a good connection.
Resistance measurements assess component health. High resistance suggests a failing component. Always double-check your settings and lead placement. Understanding the multimeter’s range settings is crucial for accurate readings. Proper usage prevents damage to the meter and ensures safe, reliable results.
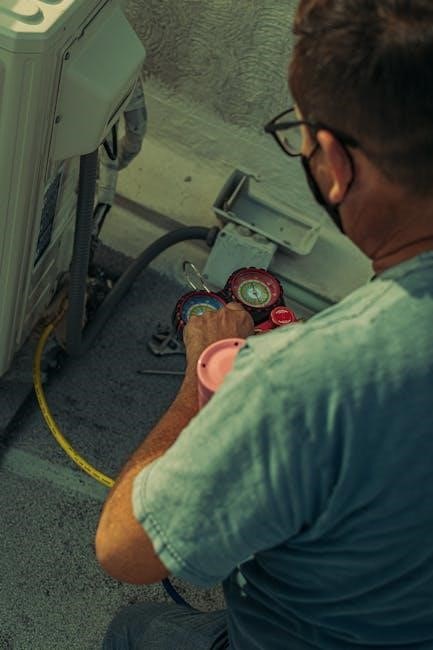
B. Manifold Gauge Set Operation
Manifold gauge sets measure refrigerant pressures – crucial for AC diagnosis. Connect the high-side hose to the service port on the compressor discharge line and the low-side hose to the suction line. Ensure tight connections to prevent leaks. Observe the pressure readings; abnormally low or high pressures indicate system issues.
Compare readings to the manufacturer’s specifications for the refrigerant type. Understanding superheat and subcooling requires accurate pressure measurements. Properly purging the hoses before connection is vital. Regularly check for leaks around the gauge connections. Safe operation demands careful handling and adherence to industry best practices.
C. Refrigerant Leak Detector Importance
Refrigerant leak detectors are paramount for environmental protection and system efficiency. Even small leaks diminish cooling capacity and increase energy consumption. Electronic leak detectors quickly pinpoint leak locations, saving time and refrigerant. Different types exist – halogenated hydrocarbon detectors and soap bubble methods, each with pros and cons.
Regular leak checks are essential preventative maintenance. Prioritize safety; refrigerant exposure can be harmful. Accurate detection prevents costly repairs and environmental damage. Always follow the manufacturer’s instructions for optimal detector performance. Proper calibration ensures reliable readings. Addressing leaks promptly maintains system integrity and reduces operational costs.
IV. Common HVAC Problems: Heating System
Heating system failures often occur during peak demand, causing discomfort and potential hazards. Common issues include a complete lack of heat, insufficient warmth, or inconsistent temperature. Gas furnaces may experience pilot light problems, ignition failures, or gas valve malfunctions. Electric furnaces can suffer from blown heating elements or faulty control boards.
Troubleshooting requires a systematic approach. Check the thermostat settings, power supply, and air filter first. Inspect the burner assembly for obstructions or damage. A carbon monoxide detector is crucial for gas systems. Regular maintenance, including cleaning and inspections, prevents many heating system problems and extends equipment lifespan.
A. No Heat – Gas Furnace Issues
A gas furnace failing to produce heat demands immediate attention. Initial checks involve verifying gas supply and thermostat settings. A common culprit is a faulty pilot light – ensure it’s lit and stable. If the pilot won’t stay lit, a thermocouple issue is likely. Inspect the flame sensor; a dirty sensor prevents ignition.
Further investigation includes checking the gas valve for proper operation and the blower motor for functionality. A blocked flue can also cause issues. Always prioritize safety; if you smell gas, evacuate and call a professional. Regular maintenance, including burner cleaning, prevents many gas furnace failures.
B. No Heat – Electric Furnace Issues
When an electric furnace fails to deliver heat, begin by confirming power supply to the unit and verifying thermostat settings. Check the circuit breaker dedicated to the furnace; a tripped breaker is a frequent cause. Inspect the heating elements for breaks or damage – these are critical for heat generation.
A faulty blower motor can also prevent heat distribution. Examine the motor’s capacitor; a weak capacitor hinders startup. Safety is paramount when working with electrical components. If you’re uncomfortable, contact a qualified technician. Routine maintenance, including element inspection and cleaning, extends the furnace’s lifespan.
C. Pilot Light Problems (Gas Furnaces)
A consistently failing pilot light in a gas furnace often indicates a dirty or faulty pilot assembly. Begin by carefully cleaning the pilot orifice with a fine wire; debris can obstruct gas flow. Check the thermocouple – this safety device senses the pilot flame and allows gas flow to the burner. A weak thermocouple won’t hold the gas valve open.
Low gas pressure can also be a culprit, requiring professional diagnosis. Never attempt to adjust the gas valve yourself! If the pilot light won’t stay lit after cleaning and thermocouple inspection, a professional HVAC technician should be consulted to ensure safe and effective operation.
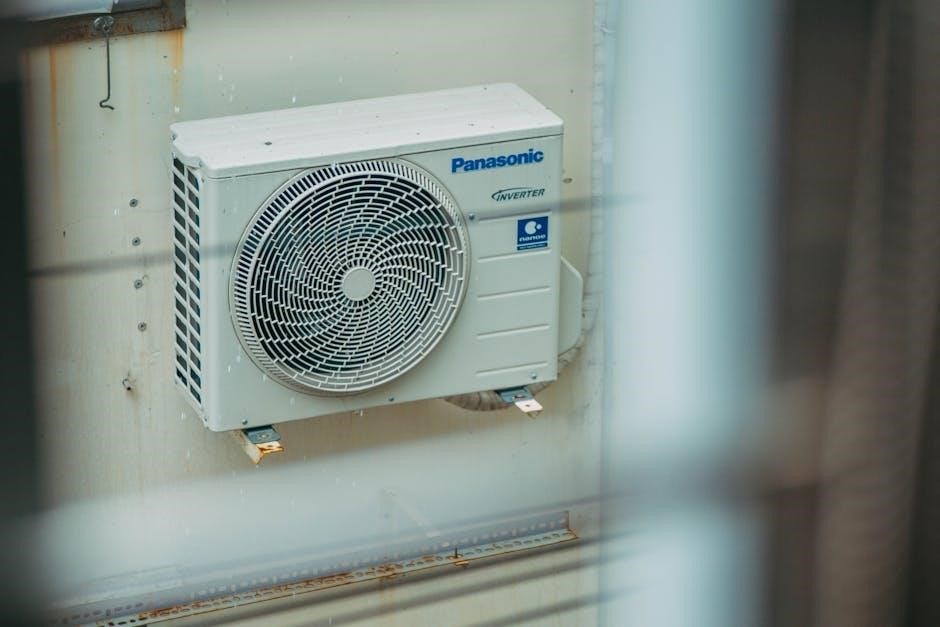
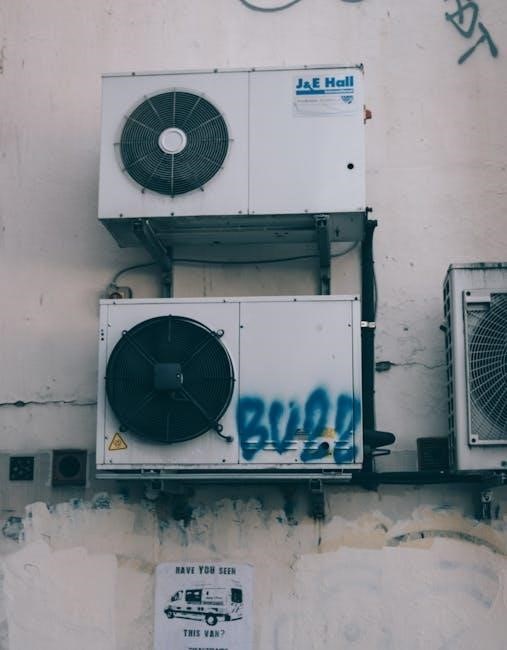
V. Common HVAC Problems: Cooling System
Cooling system malfunctions often lead to discomfort, but many issues are diagnosable. A frequent problem is the system blowing warm air, frequently stemming from compressor failures or refrigerant leaks. Compressor issues can range from electrical faults to mechanical breakdowns, often requiring professional repair or replacement.
Refrigerant leaks reduce cooling capacity and can damage the compressor. Identifying and sealing leaks, then recharging the system, is crucial. Another common issue is a frozen evaporator coil, often caused by restricted airflow. Addressing the root cause of airflow restriction is vital to prevent further damage.
A. No Cool Air – Compressor Issues
When your AC blows warm air, the compressor is a prime suspect. Compressors are the heart of the cooling system, responsible for circulating refrigerant. Electrical faults, like a failed capacitor or wiring issue, can prevent the compressor from starting. Mechanical failures, such as a worn-out motor or damaged valves, also cause compressor malfunction.
Diagnosing compressor issues requires a multimeter to check for voltage and continuity. Listen for unusual noises – clicking, humming, or grinding – which indicate internal problems. A failed compressor often necessitates professional repair or complete replacement, a significant expense, so preventative maintenance is key.
B. No Cool Air – Refrigerant Leaks
Insufficient refrigerant severely impacts cooling capacity, resulting in warm air output. Leaks can occur at various points – connections, evaporator coils, or condenser units. Detecting refrigerant leaks requires a specialized leak detector; bubbles forming at connection points are a visual clue. Low refrigerant also strains the compressor, potentially leading to its failure.
Addressing refrigerant leaks involves locating and repairing the source, followed by recharging the system to the manufacturer’s specified level. It’s crucial to understand that simply adding refrigerant without fixing the leak is a temporary solution. Professional handling of refrigerant is essential due to environmental regulations.
C. Frozen Evaporator Coil Causes
A frozen evaporator coil restricts airflow, halting cooling and potentially damaging the compressor. Several factors contribute to this issue. Restricted airflow, often due to dirty air filters, is a primary cause. Low refrigerant levels also lead to coil freezing as the reduced refrigerant volume lowers the coil’s temperature excessively.
Other contributing factors include a malfunctioning blower motor, which reduces air circulation, and blocked return air vents. Diagnosing the root cause is vital; simply defrosting the coil won’t resolve the underlying problem. Addressing airflow restrictions and refrigerant levels is crucial for preventing recurrence.
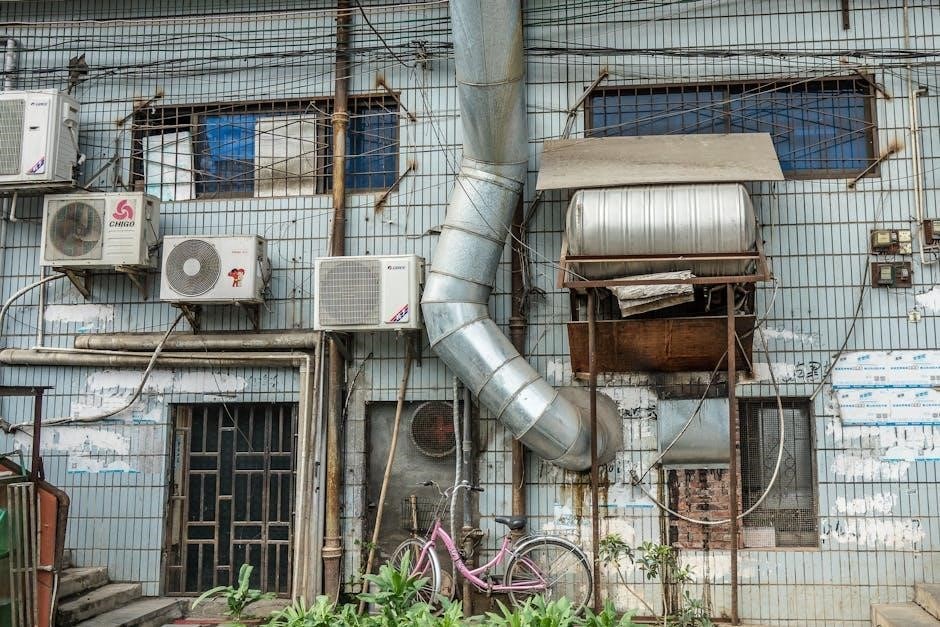
VI. Airflow Problems & Solutions
Insufficient airflow significantly impacts HVAC system performance, leading to uneven temperatures and reduced efficiency. Common culprits include dirty air filters, drastically reducing air volume. Inspect and replace filters regularly – a simple yet vital maintenance step. Ductwork leaks also contribute, wasting conditioned air and forcing the system to work harder.
Furthermore, a failing blower motor presents a serious airflow issue. Symptoms include reduced airflow, unusual noises, or complete motor failure. Addressing these problems promptly ensures optimal comfort and prevents potential system damage. Regular duct inspections and motor maintenance are key preventative measures.
A. Dirty Air Filters & Reduced Airflow
Dirty air filters are a primary cause of reduced airflow in HVAC systems, impacting both heating and cooling efficiency. As filters become clogged with dust, pollen, and debris, they restrict air passage, forcing the blower motor to work harder. This increased strain can lead to premature motor failure and higher energy bills.
Regular filter replacement – typically every 1-3 months, depending on usage and filter type – is crucial. Visible dirt accumulation is a clear indicator it’s time for a change. Ignoring this simple maintenance task significantly diminishes system performance and indoor air quality, creating an uncomfortable environment.
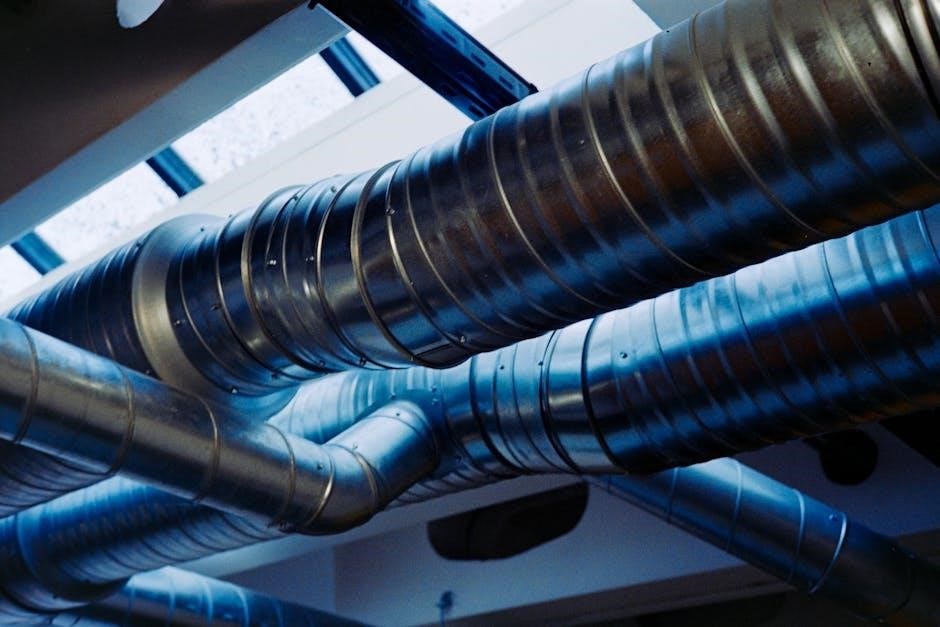
B. Ductwork Leaks & Their Impact
Ductwork leaks are a significant source of energy loss in HVAC systems, often overlooked during troubleshooting. Even small gaps and disconnections in ductwork can allow conditioned air to escape into unconditioned spaces – attics, crawlspaces, or wall cavities – reducing overall system efficiency. This forces the HVAC unit to work harder to maintain the desired temperature.
The impact extends beyond energy waste; leaks can also introduce dust, allergens, and pollutants into the airstream, compromising indoor air quality. Regular duct inspections and sealing of any identified leaks with mastic sealant or metal tape are essential for optimal performance and a healthier home environment.
C. Blower Motor Failure Symptoms
A failing blower motor manifests in several ways, often signaling a need for immediate attention. Reduced airflow is a primary indicator; you might notice weaker airflow from vents, or uneven temperature distribution throughout the building. Unusual noises, such as squealing, grinding, or humming, emanating from the air handler, are also red flags.
In some cases, the blower motor may fail to start altogether, resulting in no airflow. Electrical issues, like a burning smell or tripped circuit breaker, can accompany motor failure. Prompt diagnosis and repair or replacement of the blower motor are crucial to restore proper HVAC function and prevent further damage.
VII. Electrical Issues in HVAC Systems
HVAC systems rely heavily on electrical components, making electrical troubleshooting a critical skill. Common problems include capacitor failures, often presenting as a lack of start-up power or humming sounds. Faulty wiring, identified through visual inspection and multimeter testing, can cause intermittent operation or complete system shutdowns.
Frequent circuit breaker tripping indicates an overload or short circuit, demanding immediate investigation. Always prioritize safety when dealing with electrical components; disconnect power before any inspection. Proper diagnosis requires a systematic approach, utilizing a multimeter to check voltage and continuity, ensuring safe and effective repairs.
A. Troubleshooting Capacitors
Capacitors are vital for motor starting and running within HVAC systems. A failing capacitor often manifests as a motor humming but failing to start, or running at reduced speed. Visual inspection can reveal bulging or leaking, indicating failure. However, a multimeter is essential for accurate testing.
Use a capacitance meter to check the capacitor’s microfarad (µF) rating against its labeled value; significant deviation signifies a problem. Always discharge the capacitor before handling to avoid electric shock. Replacement requires matching the voltage and µF rating precisely for optimal performance and system protection.
B. Identifying Faulty Wiring
Faulty wiring is a common culprit in HVAC malfunctions, often presenting as intermittent issues or complete system failure. Begin with a visual inspection, looking for signs of damage – burnt insulation, loose connections, or corrosion. Carefully check wiring diagrams to ensure correct connections.
A multimeter is crucial for continuity testing; a lack of continuity indicates a break in the wire. Voltage testing confirms power delivery to components. Always disconnect power before working with wiring. Secure loose connections and replace damaged wires promptly to prevent further issues and potential safety hazards.
C. Circuit Breaker Tripping – Causes & Fixes
Repeated circuit breaker tripping signals an underlying problem within the HVAC system, demanding immediate attention. Overloads are a primary cause – too many components drawing power simultaneously. Short circuits, where live wires touch, also trigger breakers instantly. Ground faults, involving current leakage, are another possibility.
First, reduce the load by turning off non-essential HVAC functions. Inspect wiring for damage and loose connections. If the breaker trips immediately upon reset, a short circuit is likely. Contact a qualified technician for diagnosis and repair; attempting fixes without expertise can be dangerous.
VIII. Thermostat Troubleshooting
Thermostats are the central command for HVAC systems, yet often the source of comfort complaints. Incorrect settings – mode, temperature, or fan control – are common user errors. Calibration issues can lead to inaccurate temperature readings, causing inefficient operation. Wiring problems, including loose connections or corrosion, disrupt communication between the thermostat and HVAC equipment.
Begin by verifying settings and ensuring the thermostat is in the correct mode. Check for proper battery function or power supply. Inspect wiring connections carefully. If issues persist, consider a thermostat recalibration or professional assessment; a faulty thermostat can significantly impact energy usage and comfort.
A. Incorrect Thermostat Settings
The most frequent cause of thermostat-related issues stems from simple user errors in settings. Verify the system mode – is it set to heat, cool, auto, or off? Confirm the desired temperature is appropriately programmed for the time of day and occupancy. Check the fan setting; “auto” allows the blower to run only during heating/cooling, while “on” provides continuous circulation.
Accidental adjustments or unfamiliarity with programmable features often lead to discomfort. Review the schedule to ensure it aligns with your needs. A misplaced setting can easily negate the efficiency of a well-maintained HVAC system, resulting in wasted energy and inconsistent temperatures.
B. Thermostat Calibration Issues
Even with correct settings, a thermostat can deliver inaccurate readings, leading to inconsistent temperatures. Calibration drift occurs over time, causing the thermostat to misinterpret room temperature. Compare the thermostat’s reading with a known-accurate thermometer placed nearby; a significant discrepancy indicates a calibration problem.
Many digital thermostats offer a calibration feature allowing for minor adjustments. Consult the manufacturer’s instructions for specific procedures. For older or analog models, professional recalibration or replacement may be necessary. Addressing calibration issues ensures the HVAC system operates efficiently, maintaining desired comfort levels and preventing unnecessary energy consumption.
C. Wiring Problems with Thermostats
Faulty thermostat wiring is a common cause of HVAC malfunctions. Loose connections, corroded wires, or incorrect wiring configurations can disrupt communication between the thermostat and the HVAC system. Carefully inspect the wiring connections at both the thermostat and the HVAC unit, ensuring wires are securely fastened to their terminals.
Use a multimeter to check for continuity in each wire, verifying there are no breaks or shorts. Refer to the wiring diagram for your specific HVAC system to confirm correct connections. If unsure, consult a qualified HVAC technician; improper wiring can damage the system or create a safety hazard.
IX. Water Leakage in HVAC Systems
Water leaks within HVAC systems demand prompt attention to prevent damage and mold growth. Common causes include condensate drain blockages and refrigerant line leaks. Condensate drains can become clogged with algae or debris, causing water to back up and overflow. Regular cleaning of the drain pan and lines is crucial preventative maintenance.
Refrigerant leaks, while less common, can also manifest as water due to condensation forming on the cold refrigerant lines. Investigate any signs of ice buildup or moisture around refrigerant lines. Professional assistance is vital for refrigerant leak detection and repair, as handling refrigerant requires specialized equipment and training.
A. Condensate Drain Blockages
Condensate drain blockages are a frequent cause of water leaks in cooling systems. As warm, humid air passes over the evaporator coil, moisture condenses and flows into a drain pan, then through a drain line. Algae, mold, and dust accumulate over time, restricting water flow and causing backups. Signs include water dripping from the air handler or near the indoor unit.
Regular maintenance, such as flushing the drain line with a vinegar solution, can prevent blockages. A wet/dry vacuum can also be used to clear obstructions. Ignoring these blockages can lead to water damage, mold growth, and reduced cooling efficiency, necessitating professional cleaning or repair.
B. Refrigerant Line Leaks & Water Formation
Refrigerant line leaks, though less common, can manifest as water formation around HVAC components. This occurs because the cold refrigerant chills the air surrounding the leak, causing atmospheric moisture to condense. Visible ice on the refrigerant lines is a strong indicator, even if the water quickly evaporates. Leaks reduce cooling efficiency and can damage the compressor.
Detecting these leaks requires specialized equipment like refrigerant leak detectors. Repairing them necessitates a certified HVAC technician to evacuate, repair, and recharge the system. Ignoring refrigerant leaks is environmentally damaging and leads to costly repairs, potentially requiring component replacement.
X. Advanced Troubleshooting Techniques
Moving beyond basic checks, advanced HVAC troubleshooting demands precise measurements and interpretation. Superheat and subcooling, critical parameters, reveal refrigerant charge and system efficiency. Accurate readings, taken at specific points, pinpoint issues like restricted flow or over/undercharging. Static pressure readings, obtained across the evaporator and condenser coils, diagnose airflow restrictions and ductwork problems.
These techniques require specialized tools and a deep understanding of the refrigeration cycle. Properly analyzing these values allows technicians to identify subtle problems often missed by simpler methods, leading to more effective and lasting repairs. Consistent practice is key to mastering these skills.
A. Superheat and Subcooling Measurement
Superheat and subcooling are vital indicators of refrigerant charge and system performance. Superheat, measured at the evaporator outlet, represents the temperature difference between the refrigerant vapor and its saturation temperature. Subcooling, measured at the condenser outlet, indicates the temperature difference between the refrigerant liquid and its saturation temperature.
Correct measurements require accurate temperature and pressure readings. Analyzing these values helps determine if the system is overcharged, undercharged, or operating efficiently. Properly adjusted superheat and subcooling optimize cooling capacity and prevent compressor damage. Understanding these concepts is crucial for advanced HVAC diagnostics.
B. Using Static Pressure Readings
Static pressure readings are fundamental for evaluating airflow within an HVAC system. Measuring external static pressure (ESP) helps identify restrictions in ductwork, dirty air filters, or a failing blower motor. High ESP indicates increased resistance, reducing airflow and system efficiency. Low ESP might suggest duct leaks or an oversized system.
Technicians utilize a manometer to obtain accurate readings at various points, including the return air grille and supply plenum. Comparing these values to manufacturer specifications reveals potential issues. Correcting static pressure imbalances optimizes comfort and minimizes energy consumption. Regular monitoring ensures consistent system performance.
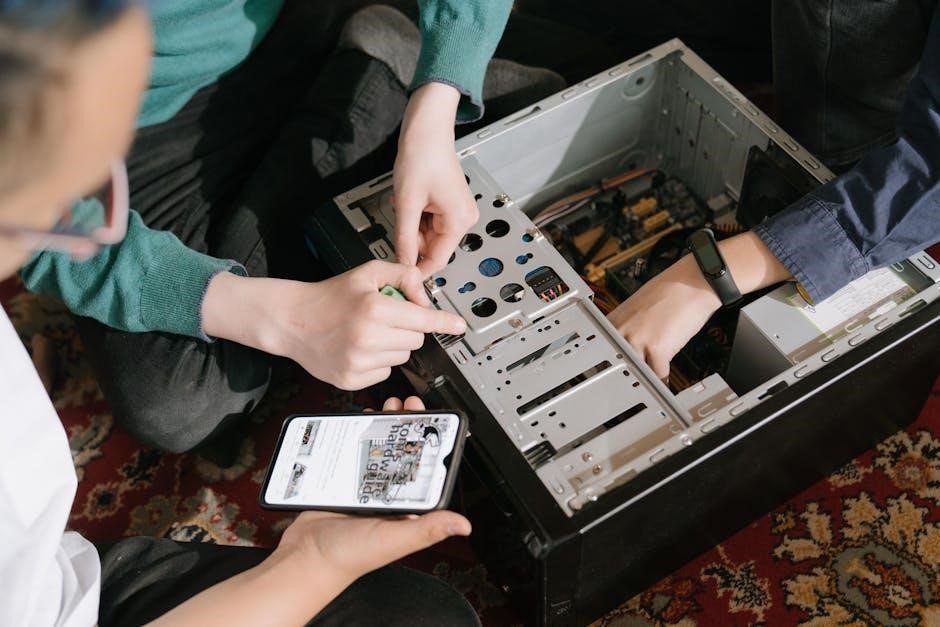
XI. Smart HVAC System Troubleshooting
Smart HVAC systems, while advanced, present unique troubleshooting challenges. Initial steps involve verifying network connectivity and checking the thermostat’s app for error messages. Software glitches are common; resetting the system or updating firmware often resolves these. Remote diagnostics, offered by many manufacturers, can pinpoint issues without on-site visits.

However, traditional HVAC components still require attention. Compressor failures or refrigerant leaks aren’t solved by app updates! Ensure a technician checks these physical aspects. Data logging features within smart systems provide valuable insights into performance trends, aiding in proactive maintenance and identifying subtle problems before they escalate.
XII. Conclusion: Maintaining a Healthy HVAC System
Proactive maintenance is paramount for a reliable HVAC system. Regular filter changes, typically every 1-3 months, ensure optimal airflow and efficiency. Annual professional inspections identify potential issues – like refrigerant levels or electrical connections – before they become costly repairs. Understanding basic troubleshooting, as outlined in this guide, empowers homeowners to address minor problems swiftly.
Remember, ignoring warning signs can lead to system failure and reduced indoor air quality. Investing in a well-maintained system translates to lower energy bills, extended lifespan, and consistent comfort. Prioritize preventative care for a healthy and efficient home environment, ensuring years of reliable operation.